Staging the Scene:

One cannot say enough about the effect that proper staging can have on a photoshoot. Case in point; we were asked to photograph a fantastic custom home in Michigan on the lake.  The homeowners were away for a few days, which provided the opportunity to stage the shots that the client wanted. 

This custom home was built by Schmidke Construction & Contracting a family-owned business headed up by master craftsman Joshua Schmidke and his wife Brianne.  Brianne as it turns out could start a second career in home staging.  This is no easy task as one has to remove most of the homeowners' personal belongings and transform a lived-in home to one staged for photography and then of course put everything back so that it appears that we were never there.  


The objective of fine architectural photography for a custom home builder is to accentuate the fine aspects of the build.  Therefore, one has to use substantial restraint when staging a scene for photography.  You want to add just the right detail to complement the room.  A splash of color here, a warm accent there, a stack of books, a bottle of wine etc., setting the scene to make the viewer want to step into the photo and enjoy the space.  Brianne hit this one out of the park!  The rooms were all perfectly set and never took away from the incredible floor plan, vaulted ceilings, or meticulous craftsmanship.   


If you are looking to build a custom home in Michigan, give Joshua and Brianne a call.  You can't do better.  Below are a few of my favorites.


Great Cameras: Sony A700

 I often get asked about what gear I use, both in the field and studio.  Many are surprised when they peak into my camera bag and see a Sony A700.


The Sony A700 isn't my primary camera, but I never go to a job without it.  Released in 2007, it  had a jaw dropping 12.1 megapixel crop frame sensor, and all the features that a professional needed.


Nice big bright viewfinder, optional vertical grip, ISO ranges from 100-6400, shutter speeds up to 1/8000sec, Exposure modes included Program, AE/AP/SP/M, multi patterned center weighted metering, super clear bright 3.0in LCD display, 5 fps shooting, video output and USB transfer as well as wireless remote shutter release and a cast body sealed from moisture.  Fully packed for a DSLR from 2007.   How good was the camera?  Outstanding!  Many of our award-winning images have been shot using this camera.  The 12.1 megapixel sensor will give me an image that I can easily output to a 20x30 wall art.


Many don't realize that the Nikon D3 of the same period used the exact same image sensor which was manufactured by SONY.

My A700 pictured here has seen 15 years of hard use.  I have no idea how many images I have shot with it, but it has to be in the high six-figure range.  


Using the A700 is a real joy.  Everything is just where it should be.  Controls and menus are logically laid out.  It feels good and substantial in your hands.  Shutter release is very smooth and quiet.   


 When asked why I still use such an 'old' camera the answer is obvious.  Just look at the images it produces.  


Creative Spotlight: FBG Corporation

We got a call a couple of years back from Mac at FBG.  They were building a new website and needed a few projects photographed.  


FBG is one of those companies that can build anything from a custom estate to a high security bank.  They really have quite a diverse portfolio.  We spent several weeks photographing historical buildings, restaurants, schools, office buildings and this library in a West Chicago suburb.


The project was a lot of fun for us.  The staff was very kind and cooperative and the project was very contemporary and colorful.  Unique to the design were the many stainless-steel panels and ceiling tiles that made for a lively highly reflective environment.  The students loved it and found it to be a very creative space to work and study. 


If you have a project, commercial or otherwise give Mac at FBG a call.  There really isn’t anything that is out of their scope of expertise.


Below are a few shots from the project.


Film Cameras: Nikon F2

The very first time I ever used a Nikon F2, I was helping a friend photographer Vic Locher shoot a wedding.  I had brought my trusty Minolta X-570 to the job and Vic said something like ‘Hey, I would rather you shoot with one of these’.  He was a Nikon man and so there is a story… there is always a story. 

Vic had been helping a photographer he knew shoot weddings, and this photographer supplied him with a couple of Nikons to use.  Vic handed me one of those,  a well-worn (beat to death is a better description) Nikon F2 with a 50mm 1.4 lens.  The Nikon had the shutter speed 100th of a second glued into place and someone had taken a pick and hammer to the 50mm f1.4 lens aperture so that it was always at 5.6.  (I am not kidding). Flash was provided by using a Sun Pak 555.  Just for the record, Vic's personal Nikons were always pristine.

So I ask Vic, “But what if I need to zoom in or out?  I can’t be stuck with this”.  Vic replied “If you want to zoom in, then step forward.  To Zoom out, step backward”.  I have NEVER forgot that, and went on to shoot nearly all my weddings with two Minolta XE-7’s using 50mm 1.4 lenses at either f.5.6 or f.8.  (Thank you, Vic, for all your patience and mentoring!)


Vic explained that the 50mm lens is almost completely distortion free and therefore when shooting groups those who are on the ends will look natural and properly sized like those in the center of the image.  Of course, Vic was right, and after I got used to zooming in an out by stepping forward and backward, I adopted his technique.  The images looked amazing, and using the fixed focal length forced me to become better at my compositions.


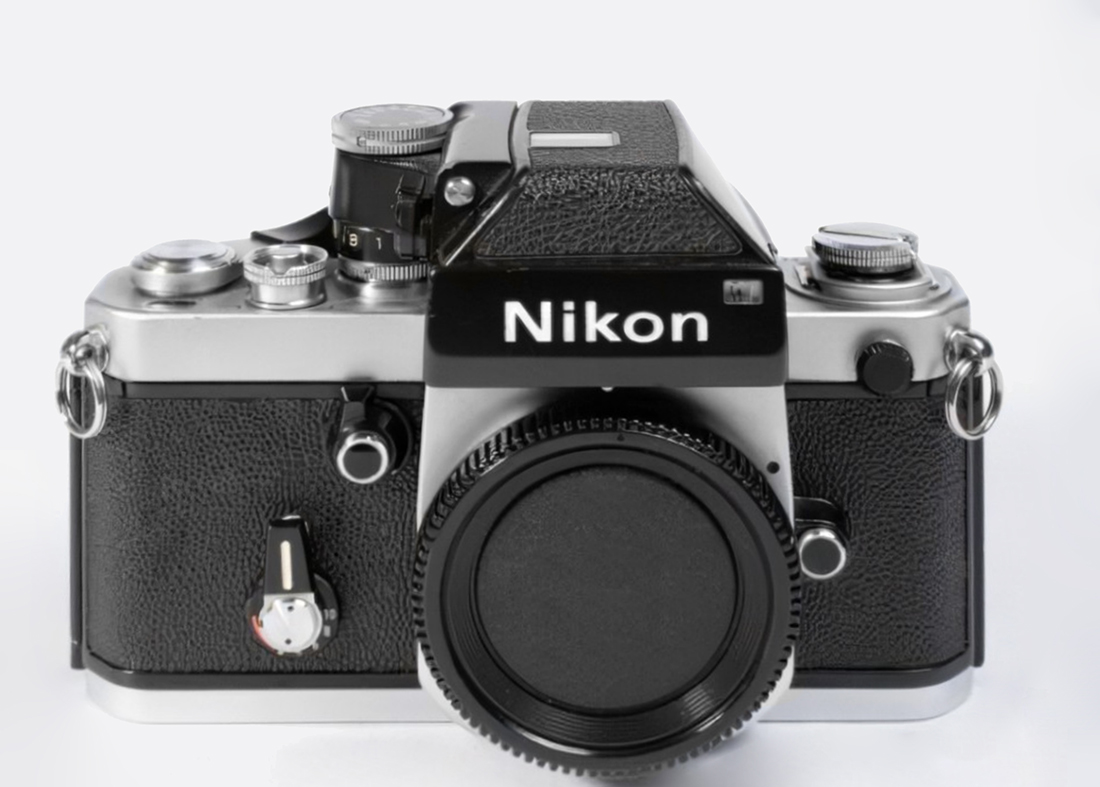
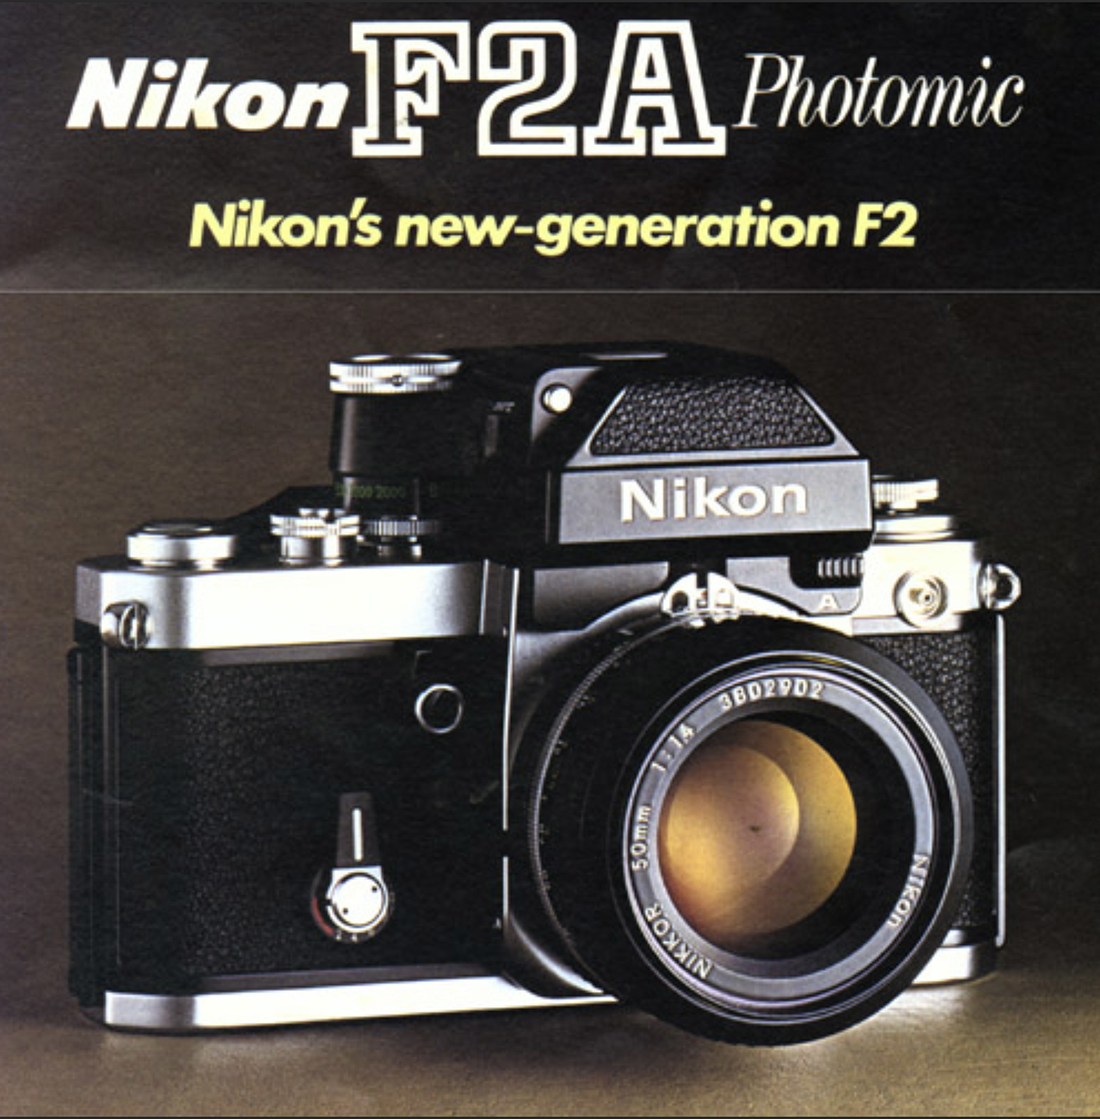
Now back to the battered Nikon f2 that I was using.  It felt good, like I could slam it to the ground and then pick it up and use it again, something I think someone may have actually done from looking at it.  The shutter release was crisp, the focusing effortless and film wind-on firm and taught.  There was no question you were using a purposeful, well-engineered tool.  I was so impressed; I bought a clean used one immediately.


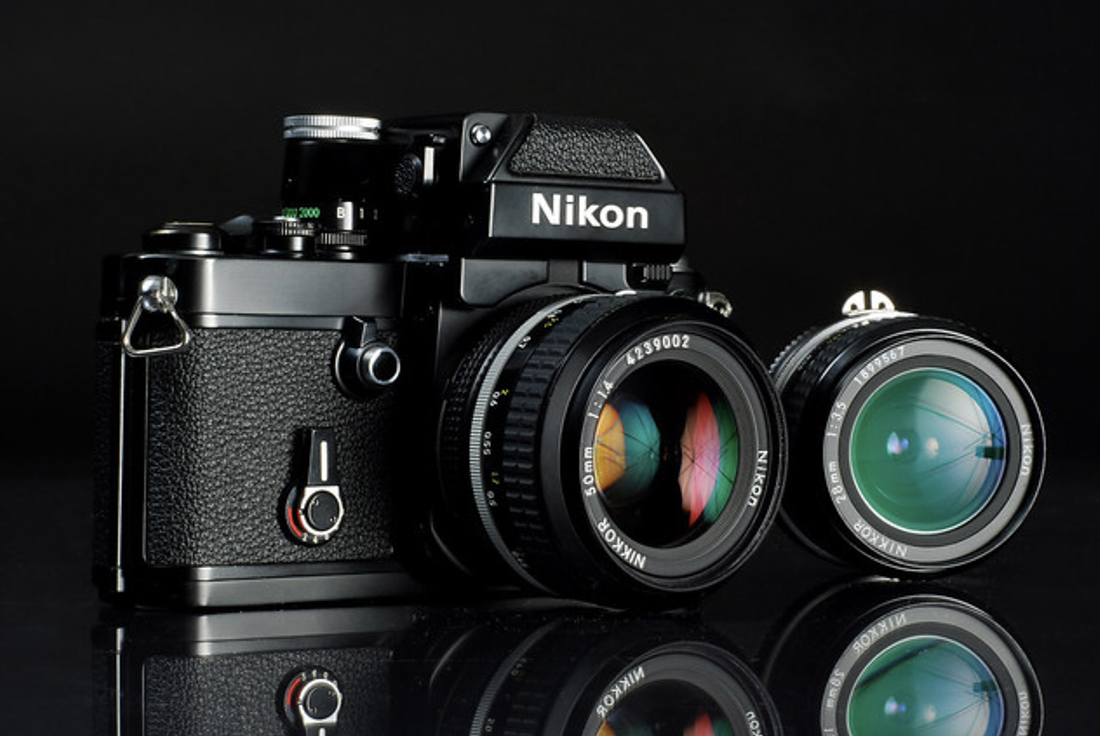
I used my Nikon with great joy for many years, shooting mostly weddings.  I only ever had the one 50mm 1.4 lens with the camera and I bought Vic’s Sun Pak 555 with  auxiliary battery pack to go with my Nikon.  


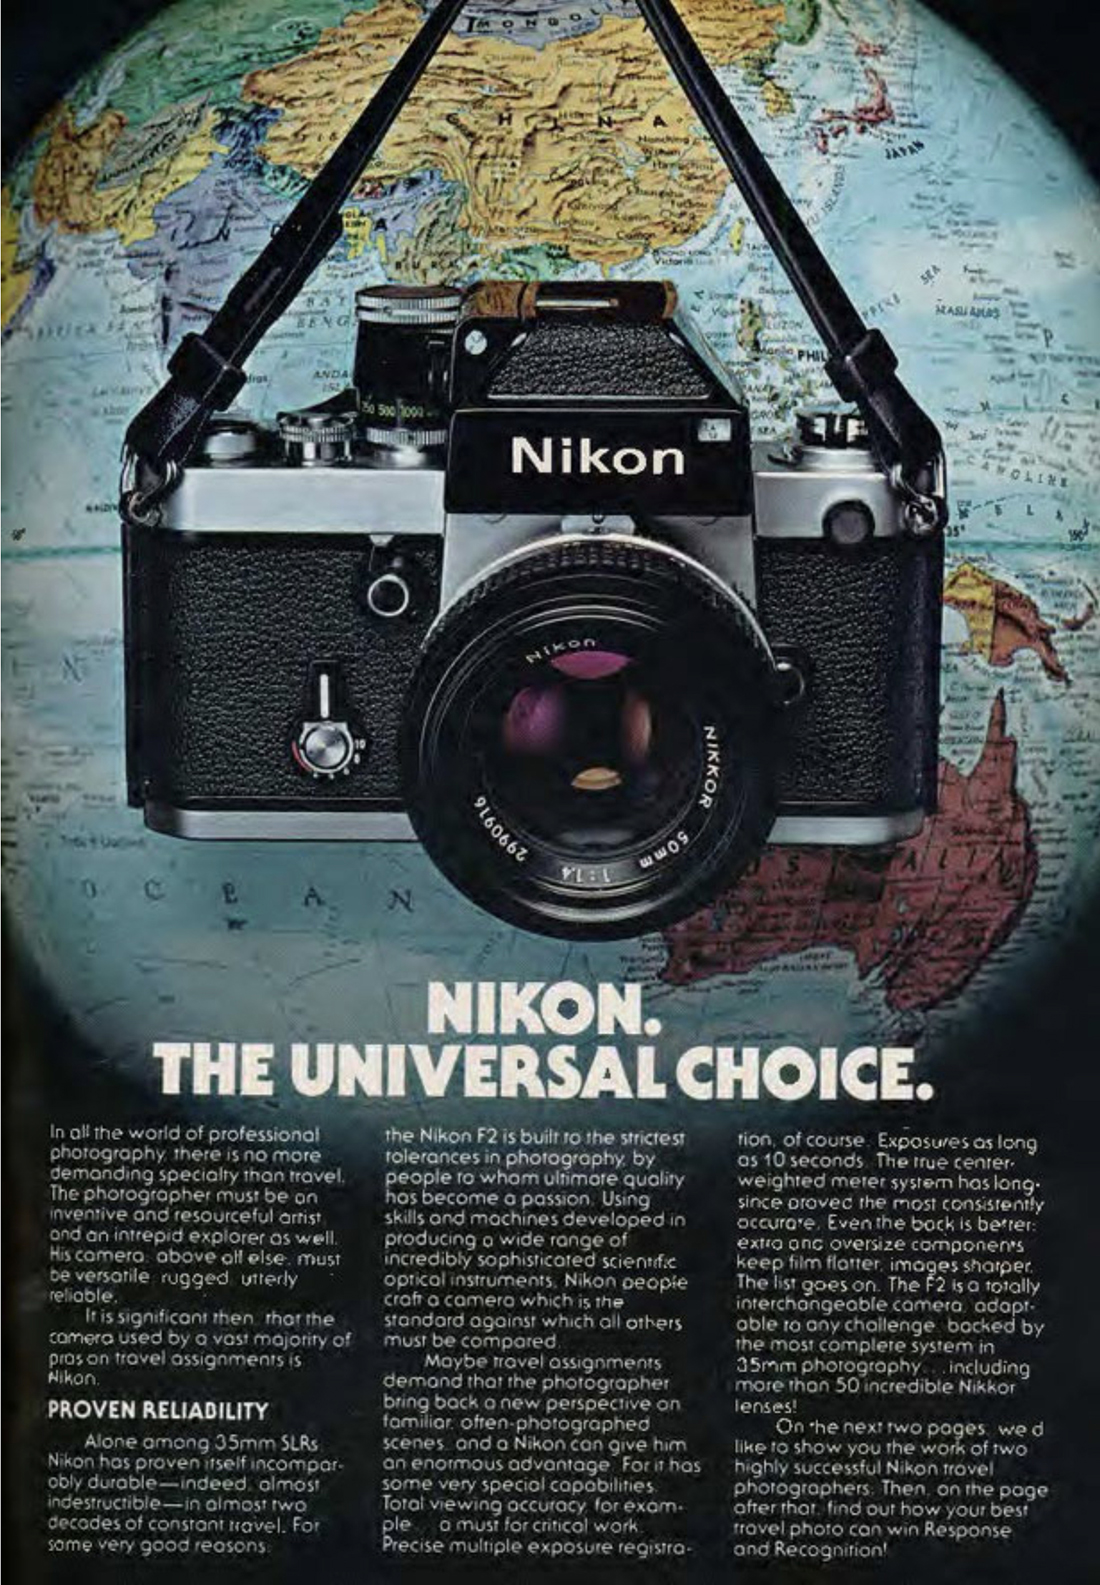
The camera never failed me, never needed a repair and my favorite part about it was that it never needed a battery.  It was fully mechanical.  The light meter in my F2 prism was off quite a bit, but I didn’t really need it since I was always shooting flash a 100’th of a second.  I could see why this was the camera of choice for photojournalist, portrait photographers, wedding photographers, shooting models and rock bands etc., and after using it you completely understand why this was the camera for photojournalist covering hostile and war-torn countries. This was the type of camera you could go to an assignment with and forget about having a backup.  You didn’t need one.


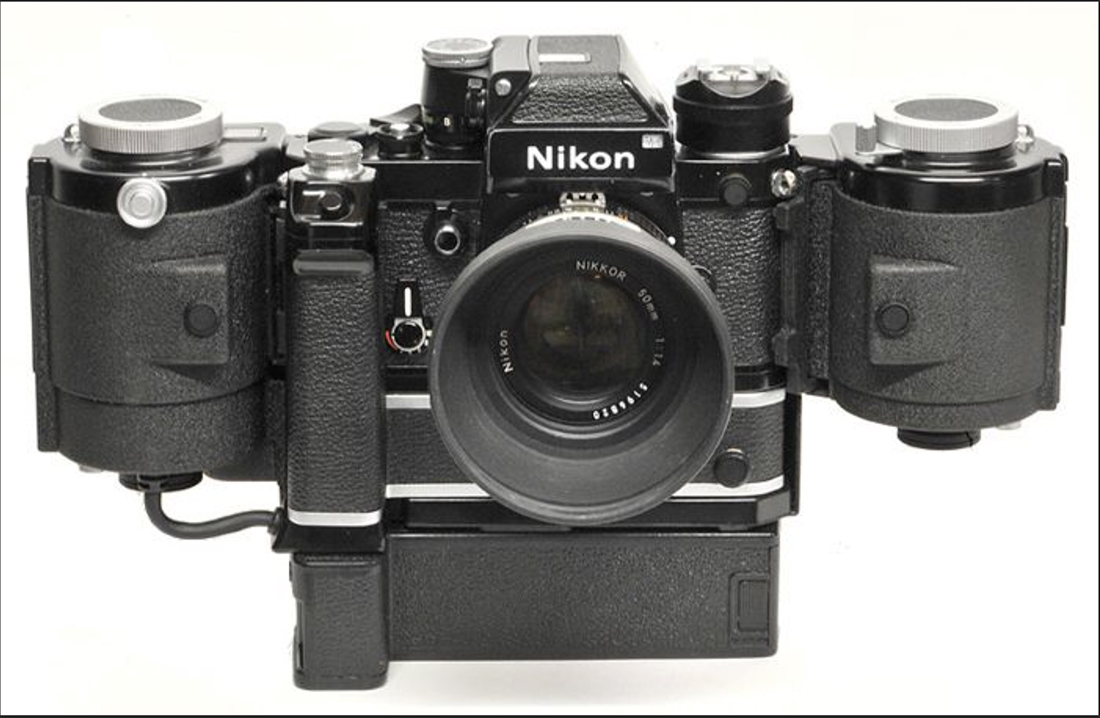
If you could think of the accessory, either Nikon offered it or a third party built it.  The camera had and endless selection to choose from.  


I eventually sold my Nikon F2 and bought an F3 which I sold after having it for a little more than a year.  It had issues with the shutter hanging up.  I had it repaired twice by Nikon and once by a local camera shop and that was too much for me.  I didn’t trust it like I did the F2. I also found that I liked my Minolta X-570 more than the F3.  The woes of the F3’s shutter hang ups had me kicking myself for letting go of my pristine F2.  In the end, the Minolta X-570 and the Minolta XE-7 would become my workhorse cameras.  I still own them and still use them regularly, but I have never forgot about that wonderful Nikon F2.   In case you’re wondering… yes, I highly recommend the Nikon F2 for anyone wanting a bullet proof camera regardless of what you’re shooting.  


Shooting the X-Pot

One of the challenges that come with shooting commercial spaces is getting access.  If it’s an office or department store obtaining access to shoot the job before opening is usually pretty easy.  But when it comes to gaining access to a restaurant, pub or other hospitality locations, it can at times be difficult. 

The end client is eager to open and often they are pressed for time.  Training staff, stocking and cleaning are almost always down to the wire.  This was the case when we were called to photograph the X-Pot restaurant.  Access was very limited and staff hurried to prep and stage for their opening.


When we arrived on-site we were shown what areas would be available for photography.  While limited, we did what we could as the staff were constantly moving about and walking in front of our camera lens.  Additionally, not all of the lights and visual features were able to be lit during the time we were shooting, which meant there would be quite a bit of work during post processing to make the images look their best.  


The project was built by Level Construction in Chicago.  The finished project was outstanding.


Below are a few of our favorites.  


Film Cameras: Leica R3

You may recall me writing about the Minolta XE-7 as my favorite 35mm film camera.  Well, the Leica R3 is based on this camera.  They were design in cooperation between Leitz and Minolta and both used the exact same Copal manufactured Minolta/Leitz developed electronic shutter.  Leitz could have chosen anyone to work with, but Minolta’s top drawer build quality and outstanding optics sealed the deal for this and future collaborations between the two.

Though the Leica R3 and the XE series are essentially identical cameras, the R3 did have some improvements.  Remember, the XE was available nearly two years before the R3 was introduced.  The later introduction of the R3 allowed Leica to use Minolta’s recently developed super bright focusing screen, making for a brighter view finder then the one in the XE.  You can however swap an R3 focusing screen into an XE if you so desired.  I thought about doing that, but always found the existing XE screen to be plenty bright and contrasty. The Leica R3 also had the addition of a spot meter and later on motor drive capability.   


The Leica R3 was a big hit for Leitz, and at one time Leitz thought that their future would be in the SLR market.  It was also very expensive, more so than the already expensive Minolta XE-7.  I bought my Leica R3 with the Summicron 50mm f2 lens and was excited to compare it to the Minolta XE-7 with the Rokkor 50mm 1.4 lens. 


After using both extensively, I found that I really preferred the Japanese built XE-7 to the Portuguese built R3.  The fit and finish were much tighter and the camera was just smoother.  Here I am talking about lens focusing and dial controls.  The superb shutter wind-on, was the same for both cameras.  I found the Leitz lens optics to be generally excellent, but in no way superior to the Minolta Rokkor lenses.  


After a few years of use, I found myself using the XE-7 more and more and eventually sold the R3.  In all, a really nice camera, but it certainly wasn’t better than the Minolta XE-7 which can be purchased at a fraction of the cost. Therefore, the Leica R3 was a disappointment to me.  I would go on to purchase a Lecia R4 and R6 (both based on the Minolta XD), and then several of their M series rangefinders.  But here, after a nearly 30-year career, I find that I own more than 7 Minolta film cameras and not one Leica. 


I guess to me, it’s about performance and reliability.  This isn’t my hobby, it’s my profession.  I need my cameras to work, day in day out.  One assignment after the other. Here the Minoltas have never let me down.  They have never required a service, despite years of really hard use.  My Leica’s on the other hand, had all been in the shop on multiple occasions at one time or another for repair, something I find unacceptable for the working professional.


I do give the Lecia R3  my recommendation, but only to the hobbyist.  

Shot on Film: Ballerina

In the early days of our career, I was working on developing a series of staged studio shots to add to our fine art gallery.   The idea was to create a scene, measure the lighting and camera settings for the desired output, then have a guest model sit in for the final image.  Remember, this is pre-digital, so no instant looks.  You used a light meter, shot a test roll and had it processed.  If we were shooting medium format, then we could have shot a test polaroid first.  However, in this instance, I was using 35mm. 

My ‘go to’ model for this type of prep work is my business partner Mary.  She has suffered through hours of poses, lighting setups, staging mock-ups and costume changes.  The idea was to set a scene in soft focus and create a piece that could be enlarged for an emulsion transfer over to canvas. 


We did eventually bring in a model, but I preferred Mary’s test shots which we had transferred to canvas and displayed in our gallery.  The image was shot using a Minolta X-570 on an MD-1 motor drive, using a Vivitar 100mm 2.8 Prime lens on Fuji G-100 color negative film.  Lighting was provided by using a set of Speedotron Brown Line power packs.  One Bank light, one Kick and one Hair light firing into a golden body reflector with a 2-3-1 lighting ratio.  The image was scanned using a Minolta DIMAGE 5400 full frame. 


Today the original hangs in our studio.  


Maddie.

Last summer, I received a call from an interior design client of mine. She asked if I would do some portraits of her daughter, Maddie, who was graduating high school.  With a smile I thought to myself ‘senior photos’.  They aren’t something we really do, at least not for years.  


Like most photographers, I cut my teeth on shooting anything anyone ever wanted - models, rock bands, weddings, portraits, and yes… seniors.  But that was then….now I mainly focus on commercial projects.  I listened as she said that she had done some iPhone shots and that maybe I could just process those and they would be fine.  After looking at them, which were nice, I set up a date for the shoot.  They wanted to do the session outdoors as opposed to in a studio, so we schedule an afternoon at Cantigny Park in Wheaton, Illinois.  


When they arrived on-site for the shoot, her mom said that Maddie had some definite ideas about what she wanted, and that this wasn’t going to be a typical ‘seniors’ photo shoot.  Maddie seemed a bit shy, which we expected.  What I wasn’t expecting was the level of professionalism and attitude that Maddie brought.   


When we started shooting, the shy Maddie disappeared and a confident model showed up in her place.  Wow! She was a blast and as professional as any model I've ever worked with.  We all just kept smiling at each other as we went from one location to another. We definitely had a great time, and got some great shots of Maddie.  For those curious, Maddie was photographed with a Sony A850 using a Minolta 85mm 1.4 portrait lens and a Vivitar 285 flash on a Vivitar flash handle. Below are a few of the highlights:


Creative Spotlight: Orren Pickell Builders

We had the opportunity to shoot a beautiful home in the Northwest suburbs for Orren Pickell Builders.

The home is situated on a corner lot in an established neighborhood.  Simple, understated yet comfortable and elegant.  Walking inside, you get a modern, contemporary, European feel to the architecture and design.  


Rooms are open and spacious; hand-milled woodwork and wood flooring  reminds one of a clean Danish/Scandinavian style home.  As with everything Orren Pickell, the finishes and execution are all first rate with no room for improvement.  Upstairs houses a large primary suite with three additional bedrooms.  The lower level is quite large and is the perfect area for gatherings and entertainment.  It also features a large play area for the kids.  


Below are a few of my favorite shots.